Opening of an OKEx Account
Let’s access OKEx site.
* All OKEX accounts can use our server. If you register a new OKEX account through the link below, you will get an additional commission rebate. For details, please follow our official website and email notifications.
→Registration link: https://www.okex.com/join/9373205

Click “Sign up” in the upper right to display the “Sign up” screen.
Register with one of ①Email address or ②Mobile (Phone number).
③Register Password.
* The password must be at least 6 characters, one of three types of numbers, letters, uppercase letters, and special characters.

A security puzzle is displayed to confirm that the operation is manual.
→Follow the instructions on the screen and slide the puzzle pieces into place.
It is okay if the authentication fails. You can start over, so please calm down and try again.

A code will be sent to your registered email address or phone number.
Please enter the code you received.

You have now opened an OKEx account!
* The language setting can be set from the pull-down menu on the upper right. (Japanese is not supported.)
Next, set the security settings.
Security Setting
After opening a Binance account, make one of the following security settings.
・ Smartphone authentication (phone number)
・ Google authentication
First, let’s set up Google authentication.
Google Authenticator

Click the account mark (①) on the upper right of the screen and select ② “Security” from the pull-down menu that appears.
When the screen changes, select ③ “Authenticator app”.

※The download screen will be displayed, but the app cannot be installed on the PC, so please download it on your smartphone.
Open the page where you can install the app on your smartphone, and search for “Google Authenticator”.
Please install the app (Google Authenticator).

After installing Google Authenticator,
①Click the “+” button at the top right of the screen.
➁Click “Scan Barcode” at the bottom of the screen.
③Scan QR code displayed on “Link Authenticator app” page.
④the backup key will be displayed, so save it by printing or copy it to a memo.
*You will need a backup key to restore Google Authenticator if you lose your smartphone. Be sure to save it.
⑤After scanning, Google Authenticator will be registered.
◆About Google Authenticator

①Google authentication code
②The displayed numbers will change in 1 minute.
③Since the Google verification code can be used in various situations, the types will increase as you use it. The name is displayed so that you don’t lose track of what the code is.
This time,
・OKEx
・OKEx Registered mail address(Mobile number)
will be displayed.

◆Enter the verification code.
①Click “Get Code” and ② enter the 6-digit code you received at your registered email address.
③Check Google Authenticator and enter the 6-digit code displayed.
After entering all the information, click “Confirm” to complete the Google authentication registration.
Phone number Verification
This is how to “Phone number Verification”.

Select “Mobile Verification” on the security screen or “Mobile phone” on the pop-up screen.

①Select “Japan”.
②Enter your mobile phone number. Enter the number after “+81”, excluding the first “0”.
Example) 090-1111-2233 → Enter with “9011112233“
③Click “Get Code”, check the SMS message that arrives at your mobile number, and enter the 6-digit code.
④Click “Get Code” in “Email code” and enter the 6-digit code that will be sent to the registered email address.
⑤When all the entries are completed, click “Confirm” to complete registration.
Personal Verification
In OKEx, there are levels in personal authentication. Conditions such as deposits and withdrawals differ depending on the authentication level. Without personal authentication, deposits and transactions themselves are possible, but withdrawals are not possible.

When you move the cursor to ①Account mark on the upper right of the Top screen, a pull-down menu will be displayed.
Click ② “Verification”.
③Select ”Individual account” and click “Continue” button.
④Enter the fields required.
*Currently, only a passport is accepted as “ID type”.
⑤When all the entries are completed, click “Submit” to complete registration.
Select the account mode
Before trading with OKEx for the first time, you need to select “Account mode”.
Click “Update for trading” and select from the three modes displayed.
※ Please select “Single-currency margin” or “Multi-currency margin” to use futures trading and API.

Order placement mode Setting
①Clinck “setting icon” from “Margin trading” page.
② Setup Order placement mode, Please select “Long/Short”

API Setting
Let’s create an API for OKEx.
*Be sure to set the above “Account mode” before creating the API. If you keep the default “Simple” mode, you will not be able to perform automatic trading even if you set the API (an error will occur).

Click ①the account mark and select “②API ” from the displayed pull-down menu to open the API screen.
③ Click ”Create V5 API key” button.

① First, set the name of the API. Create a label with a name that can be identified as the API used for SSQ.
② Set Password. *Pasword needs 6-32 characters long.
*The “Password” set here will be entered in the “Passphrase” field when linking the API with SSQ, which will be described later.
③ Set IP address. Please enter SSQ’s two(2) IP address: 13.214.74.168, 18.138.122.233
* It is not mandatory to set the IP address, but if you do not set it, the API will expire if there is no transaction for one month. In that case, please set the API again. (Please note that there is a strategy that does not generate a signal for more than a month depending on the market trend.)
④ In the “Permission” field, check “Read” and “Trade”.

Enter the codes in the “Email code” and “Google Authentication” fields at the bottom.
① Email code (mobile phone code for smartphone authentication): Click “Get Code”, and enter the 6-digit code you got.
② Google Authentication code: Enter the 6-digit code.
③ After entering, click the “Confirm” button.

The information of the created API will be displayed.
Click ① “Copy API info” and please save the displayed API Key and Secret Key in Notepad, etc.
※ Please note that the Secret Key will only be displayed once for your safety.
Click ② “Confirm” button to complete the API creation.
API Setting on SSQ
Let’s register the created key in SIRIUS Quant.

Log in to SiriusQuant.
After clicking “Trade settings”, a pop-up will appear.
Please prepare the “API key, secret key” created on the OKEx site.
①ApiKey: Enter APIKey
②SecretKey: Enter Secret Key
③Passphrase Enter the “Password” set when creating the OKEx API
④ApiUrl: Select www.OKEx.com
⑤After filling in everything, click the “Save” button.

When “Change success.” is displayed, the API settings are complete.
The number after “Account balance:” indicates the number of funds in your “Trading account” of OKEx.
*Please confirm that your USDT margin is not 0. When you start the strategy, you need to have funds in your Trading Account.
How to set the strategy

If you click“All strategies”, a list of strategies is displayed, so click on the strategy you are interested in.
After registering the strategy you want to run, it will be displayed in “Register”.

The registered strategy is displayed in Registered. Make sure you are registered.

Before starting a strategy, set the number of lots from the screen of the strategy.
①Click “Registered” and select the strategy you want to start.
②Click Trade Settings in the red frame of the image to ③set the number of lots.
*The unit is “cont(contract)”. The unit of 1cont is displayed below the lot column.

Leverage is set from the OKEx screen.
Select ②”Margin Trading” from the pull-down menu that appears when you move the cursor to ① “Trade” at the top of the screen.
③ Click “Leverage” on the order panel to open the “Adjust leverage” screen.
④ Select the magnification to set and click the “Confirm” button.
This completes the leverage settings.
【Precautions when running strategy 】
After setting the lot number and leverage from each screen, you can run the strategy, but before running, please see the notes before running the strategy.

Meaning of “○” “×” “Arrow” displayed on the strategy chart
〇: Entry
×: Settlement
⇧: Buy (buy / long)
⇩: Sell (sell / short)
The number of positions currently held by the strategy is displayed in “Positions” on the left side of the screen.
When there is no display, it means that you do not have a position. If the number of positions is displayed, the strategy already has a position, and if you activate the strategy at that time, it will start operating when the next new position occurs.
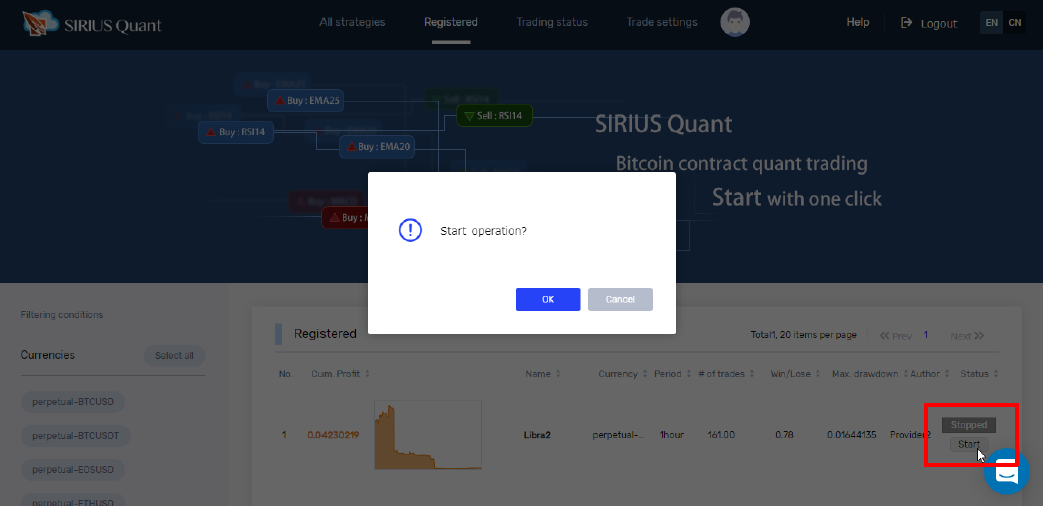
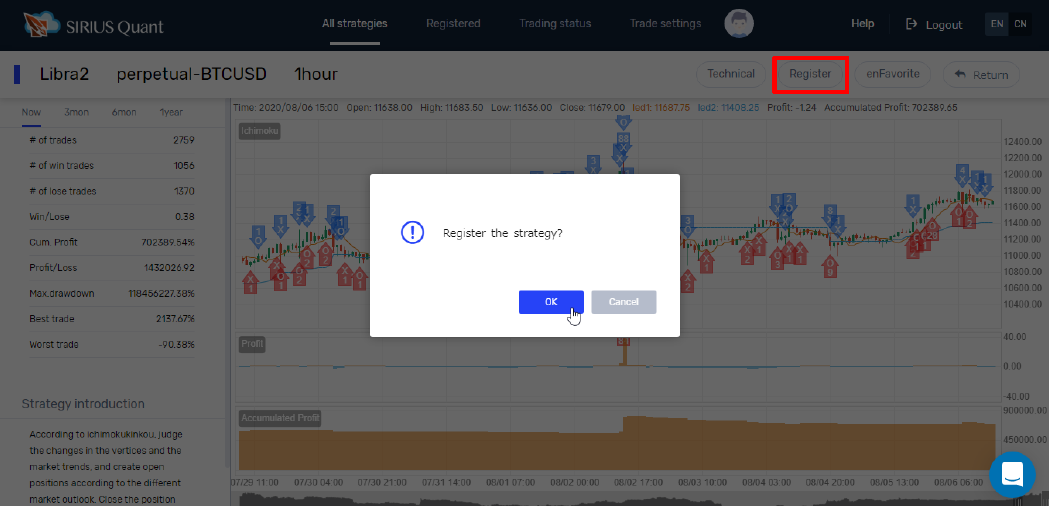
After completing various settings, open the Registered screen of SIRIUS Quant and click Start of the strategy you want to run.
A pop-up screen will appear, click OK to run the strategy.
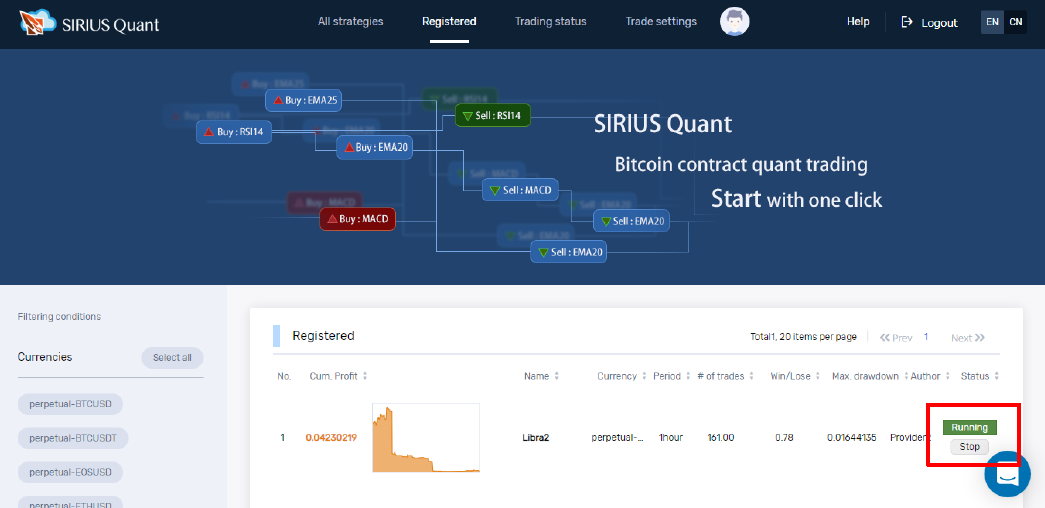
If you see Green Runningbutton, your strategy is running.
*If there is a position at the time of setting, it will start automatically when the next new position occurs.
If you want to stop the strategy, click Stop.
The position remains in Binance as it is just a stoppage of strategy.
How to manually settlement
If you want to settle manually, use the OKEx screen.

You can check your current position on the tab ① “Positions” at the bottom of “Margin trade” page.
If you want to settle a position manually, please select either ② “Close” or “MKT Close All” to settle.
AD.


Leave a Reply